Mixing tutorial
As there probably aren't two people in this world with the same approach to mixing, we will discuss some general ideas and principles that you should be aware of when starting out. We then bring these together in six steps to set you on the right path to that perfect mix!
Introduction
The purpose of mixing is to take all the recorded tracks from a session and put them together, so that the listener hears exactly what you want them to hear. It is an extremely complicated and time consuming task, which as you might expect, doesn't just involve setting volumes and panoramas.
There are three fundamental areas to focus on. These are volume & pan, spectral coverage and spatial positioning. While the principles of volume & pan are well known, the latter two may be a little less obvious. So let's cover the basics.
Looking at audio waveforms shows you the level and little more. Similarly, when looking at a spectrogram, the levels of bass may be apparent but little else. Our brain however is exceptional at decoding these audio signals. Not only can it analyze levels, it can distinguish between lots of them, and most of all it is able to decode the spectral domain with quite astounding results. It can separate individual frequencies, single out instruments including their harmonics, compare phase differences in order to detect the instrument location and even recognize echoes to improve the sense of location and space even more. The only downside of this however, is that the brain expects lots of information within the audio signal. And as a mixing engineer it's your job to make sure that that information is present.
Spectral coverage
If you were asked to put hundreds of small colourful marbles on the floor and were then instructed to find the one with a little star, it would probably take some time. What if you were tasked to find the only red marble, when each had just one colour? It is similar with audio - when you listen to 10 instruments all covering a range of 100Hz - 1kHz, you will have a hard time detecting which is which. But when you divide a spectrum into several intervals so that each instrument covers only a part of it, the brain will do most of the hard work for you. We call this spectral coverage; different instruments - different frequency ranges.
This leads us to an obvious conclusion:
If we have multiple
instruments occupying the same part of the spectrum, there will probably be
a need to sacrifice something in order to clear the mix and make it easier to
listen to.
Alternatively, we could purposely use this effect to mask a chord structure, for example that we don't want other musicians to find out how to play. By simply playing another instrument at the same time, it will generate several harmonics, thus filling the spectrum, and making analysis difficult.
Spatial positioning
Now imagine you are on a crowded bridge with several street musicians. If the musicians are far enough apart from each other, and you are fairly central, you will be able to distinguish what each are playing and where they are, even if you are blindfolded. If they are all in the same place however, you will probably still be able to determine where they are, but not who is who.
This is because they are generating similar echoes and the so-called direct signal, which is the wave that comes directly from the instrument into our ears without any reflections, will also be similar. Let's look at it physically.
Direct wave
When any of these musicians generates a sound, audio waves will go in all directions from them. Our brains are able to detect even tiny time differences with sound waves, so distance matters a lot. You first receive the direct wave. If the musician was on your left, then the signal will be intercepted by the left ear first, with the right ear receiving the wave after a little delay, or possibly even not at all. If the musician is in front of you, both ears will get the signal, but one may receive it a few microseconds earlier than the other, which makes the brain say "OK, it's a little to the right".
Echoes
After receiving the direct wave your ears start to pick up echoes. The sound has been spread in all directions and reflected, so you may intercept echoes from many things around you and also echoes of the echoes etc. Each of these reflections causes the sound to lose energy, until it eventually fades out completely. The time this takes depends largely on where you are. There will be few echoes in the desert for instance, as sand is not exactly an ideal reflective surface. However, in a church, the stone reflects sound very well and there are many walls, so each wave generates multiple echoes until you have the full ambience, associated with churches.
Example
Now let's say you are stood next to a wall on your right, and a musician is playing a few meters in front of you and to the left. Your left ear will receive the direct waves and then the echoes. There is nothing on your left side, so your left ear will not gather many reflections. Your right ear will start catching many echoes from all the waves thrown into the wall, reflected from the floor and ceiling etc.
Your brain can derive a lot from this information. The direct wave arrives at the left ear first, so the sound source is on the left. The many echoes on your right indicate that there is some big obstacle on your right side, from a material that reflects the sound a lot, possibly stone. Some reflections sound 'metallic' which may indicate ironwork, some are dull (with less highs and bass) which suggest perhaps blankets or curtains. If the echoes go away quickly, then there are probably no other major objects around you. Your left ear picks up some reflections from the floor and ceiling, which tells the brain how tall the room is. From the delay between the direct wave and the first echo it can even work out, how far away the wall on your right is from you. And so on.
The brain is an amazing organ, isn't it? Bats are even able to create a 3D model from ultrasound reflections!
The brain is able to analyze things that we can hardly simulate, so when mixing, we should try to keep things simple to so that the brain can acquire as clean a sound as possible. Our aim is to move all the sound sources to different places. If not, the mix will sound crowded and the listener will feel like all of the instruments are located in the same place. If the mix is over complicated, the listener may lose a sense of space as the echoes will just not correspond to each other (as if the wall is on your right in one track, but on your left in another).
Step 1 - Dynamics & track pre-processing
Very often you will need to gate and compress tracks. Gating ensures there won't be any residual noise in the silent parts of the track. Compression makes the track level uniform, which is necessary when adjusting volumes. Just imagine what would happen if you mix the chorus and then go to the verse only to discover that the levels are completely different.

Compressors can also heavily affect the final sound of the track, so it is good practice to use them at the start of the mixing process. Please see the compression tutorial for more information on using compressors .
Next it may be necessary to equalize some tracks. Drums for example, rarely sound good without a fairly high amount of equalization. There will be more equalization added later, but at this stage we just need to get an idea about how the tracks should sound.
After this step you should have all the tracks prepared. They should sound good and their levels should be more or less stable (which doesn't mean that the whole song should have the same loudness!).
Modern hosts provide reasonably advanced routing capabilities, so if you have several vocals or doubled background guitars for example, you may decide on grouping these tracks together. Creating a group track, allows you to adjust the advanced parameters of multiple tracks at once and can help with work flow (mixing will take only 4 hours as opposed to 40!).
Step 2 - Priorities
Remember our goal is - to tell the listener what to hear, and where
it is located.
Now we have all tracks prepared, we need to decide which of them we wish to
highlight and which should be placed in the background.
Try listening passively to some CDs and see if you can get a 'feel' for the priority order that was used. It may surprise you to discover how quickly your brain can pick this up. Most commercial recordings look like this:
- Lead vocals & solo instruments
- Drums & percussion
- Bass
- Guitars & pianos & other background instruments
- Background percussion (shakers, conga etc.)
- Pads and ambience
Step 3 - Panorama & spatial positioning
It may seem odd to start with this especially as you will probably need to tweak it again later. But in my opinion it is beneficial to do it at this stage, because it tends to change the sound character and levels of the mix significantly. Doing it later on in the mixing process may lead to reworking some of the other stages too.
Firstly you should decide upon a particular position and space for each of the instruments according to your priority list. Generally the more important the track is, the closer it should seem. It may help to try and visualize the instruments as if they were on stage albeit with the drummer and bassist standing in front of the guitarists!
Use the fact that all the tracks have been recorded separately to your advantage. You have the conditions that real time mixing engineers can only dream of. How about making your listeners feel like they are between the musicians? Or even moving the singer into the listener's head!
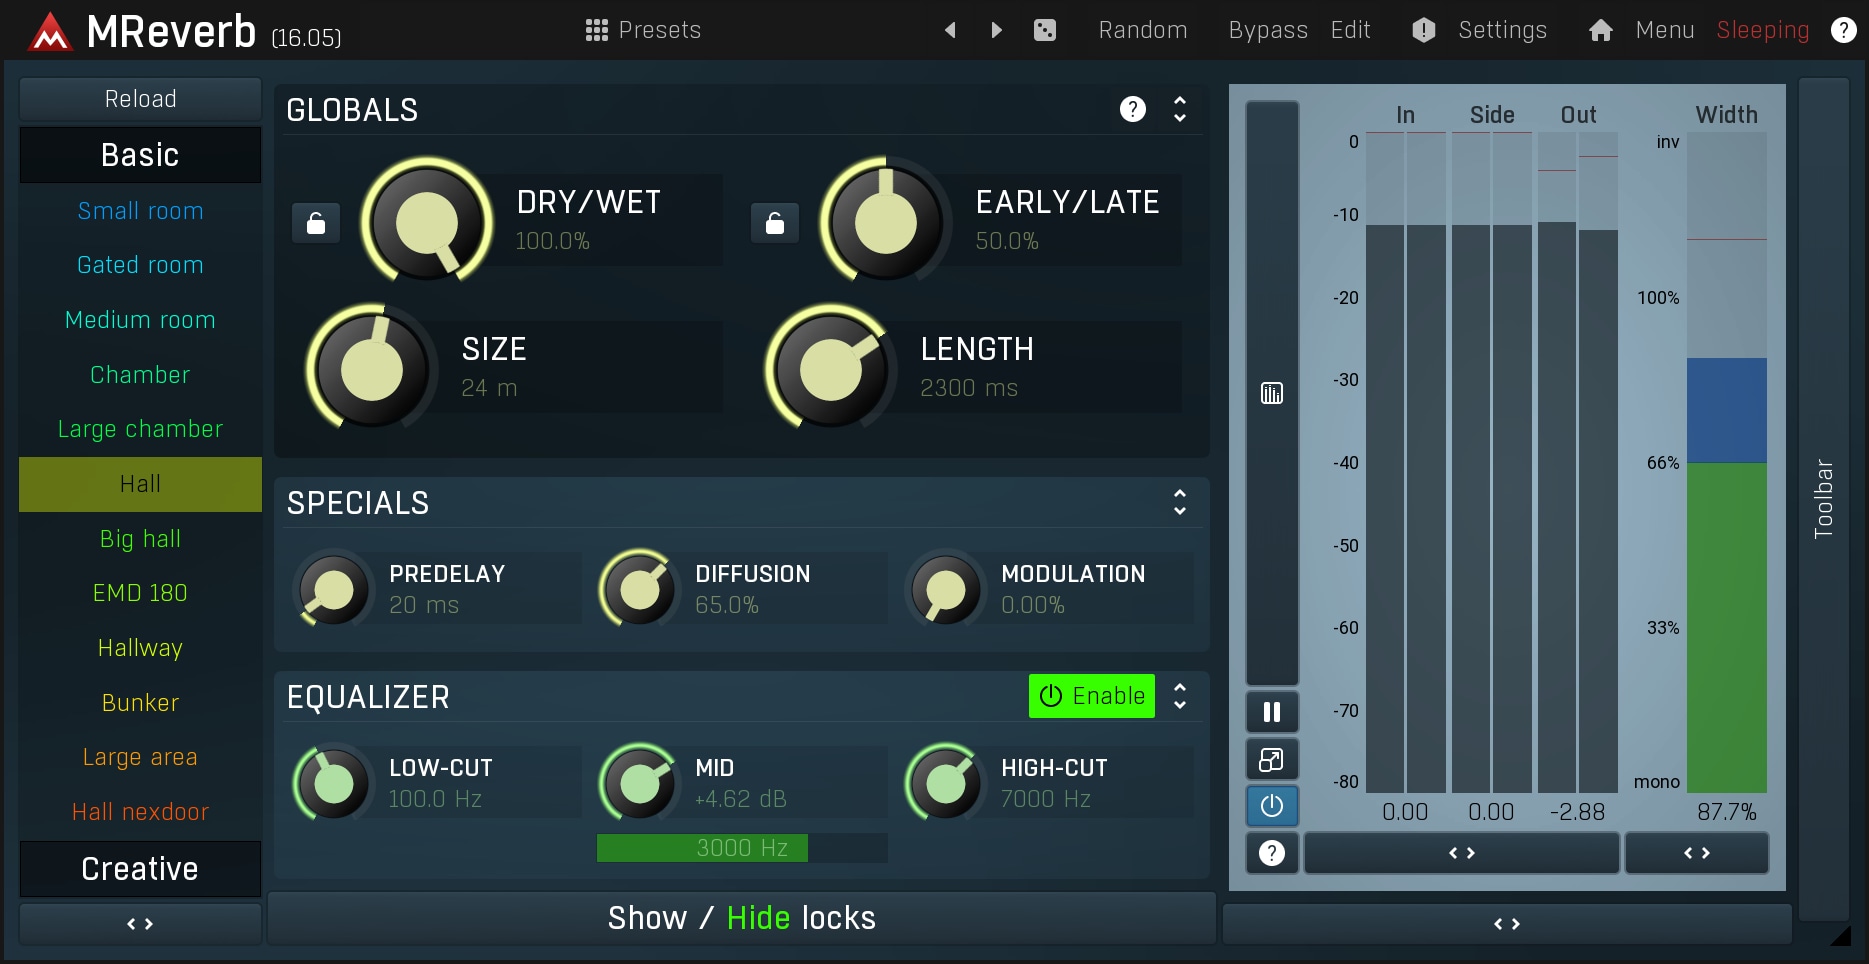
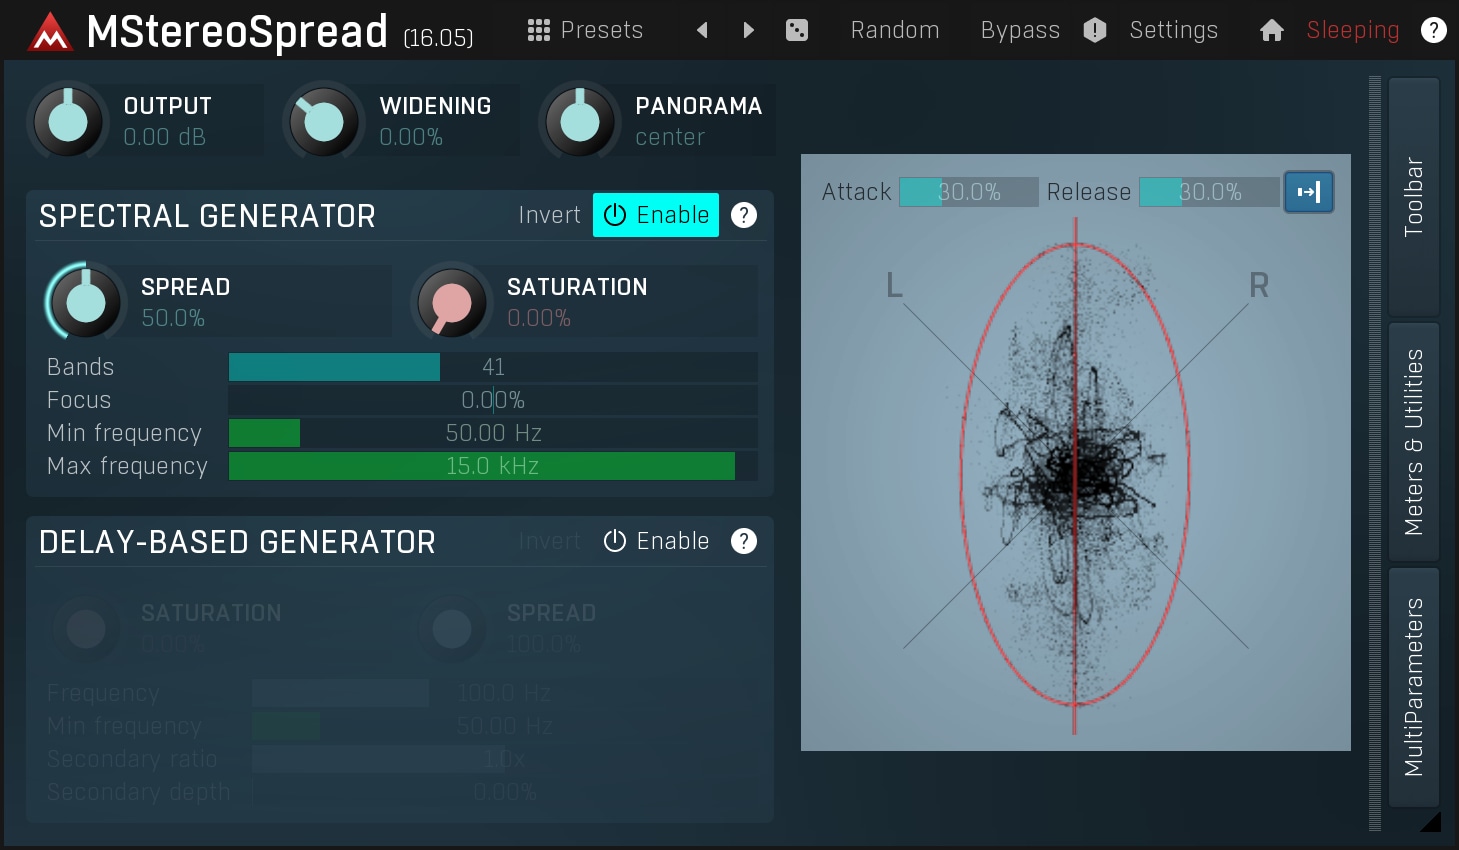
You might like to try MReverb, as it contains an excellent spatial positioning engine inside it. We'll also be using it to demonstrate most of the following tutorials. Also note MStereoSpread as this is a great artificial stereo generator, which you can use to put the tracks "closer" or even "into" the listener's head.
There are many approaches to this spatial positioning. You may wish to solo each track and setup the panoramas, delays and reverbs, or you could play all of them together, adjust the levels temporarily and then process them. Either way you will probably return to this point later when tweaking the whole mix.
Lead vocals and solo instruments
Lead vocals and solos are almost always panned to the centre and don't have much ambience as it tends to make them 'somewhere in the room' rather than 'close to you'. Maybe it is because people like the singers, I don't know :). If you want to add some reverb, try using a middle or large room setting with a depth of around 10% and no or minimal pre-delay. With MReverb you can use the pre-delay control or place the sound source close to the microphone. Pre-delay defines the delay before the first echo, which in fact defines the distance of the sound source. By making it minimal we ensure it will be 'close'. This will give the vocal some space.
For contemporary recordings I'd recommend using MStereoSpread since you can make an instrument so wide, that it gets effectively placed into the listener's head.
Drums & percussion
Drums and percussion are usually the most difficult to mix, because they contain such a variety of different sounds and recording them properly is an art in itself. To ensure the drums won't sound like a huge noisy ball, most engineers apply quite drastic pans to each track. This ensures that each of the tracks will be easy to distinguish in the stereo field albeit at the expense of being artificially located in space. The drums should have an overall reverb applied giving them more space and bringing them right behind the singer. I'd recommend a larger room with a depth of around 20% and just a little pre-delay. In MReverb you can simply just place the sound source somewhere in the centre.
Drums also usually contain some bass frequencies (bass drum, djembe etc.). In general it is not a good idea to use a reverb on low-frequency tracks (see below). So it's usual to use a high-pass filter on the reverb or equalize the reverberation signal (there's a fully functional equalizer in the bottom right part of MReverb).
Bass
Bass can be very challenging for real time mixing especially in areas of poor acoustics, because low-frequency echoes are very hard to manage. This restricts us to placing it in the centre with very little or no reverb at all. As a result, bass won't fulfil our spatial positioning requirements because it won't be placed anywhere (except for the ambience in the recorded track itself). However, this is preferable to crowding the bass spectrum. As a general rule, it's usually a mistake to put reverb on low-frequency tracks. If you really want some ambience, use a master track overall reverb.
Guitars & pianos & other background instruments
According to our priority list these are classed as background instruments, so they must appear as such. Therefore don't be afraid to apply quite a lot of pan and reverberation. Our first task is to decide which track should be where.
If you have 2 guitars, make your decision based on the drums you already have in the mix. For example, if the first guitar is more high-pitched, place it on the opposite side to the hi-hat, which is also high pitched. Similar frequency ranges - separated in space.
Another example is when you have a guitar and a piano. Since the guitar is usually more rhythmical than the piano, you may want to place it on the less rhythmical side, often (again) on the opposite side of the hi-hat. Think about placement and how it affects other instruments, but most of all - experiment...
Background percussion
These instruments usually support the rhythm and fill the space, but they typically don't have an important musical meaning. It is common to pan them slightly (to ensure they seem far away) and give them some distant ambience. In MReverb you would just use a large room or even a hall and move the sound source to either side far from the microphone.
Pads and ambience
Many music genres contain these sounds which you may not even notice at first. Yet without them, the music would sound very different. In most cases these are already very 'stereophonic' and ambient, so you may decide to leave them. But if they are too upfront, you could send them through a large room or hall reverb. It's usual to leave them panned close to the centre, because otherwise they would lose their natural ambience, which is after all the reason we are using them. Sometimes it may be useful to collapse their ambience a little to put them further away.
Step 4 - Volumes
Although many presume that this is the hardest step, it is technically the simplest one. Your aim is to support the order of instruments defined earlier. The idea is that when you play the mix and let your brain analyze the recording, you should notice instruments one by one in that order. So if the first thing you notice is the guitar, there's something wrong because there are other tracks you should hear first, such as the vocals or drums.
One issue that we discussed in the introduction is ear fatigue. Over time your brain will adjust to the sound and you lose your objectivity. It is always good practice to jump through the different parts of the song, so that when your brain adjusts to the guitar being in the front during the solo, it can regain its objectivity during the verses, when the guitar should be strictly in the background, not interfering with the main vocal. It is also a good idea to take breaks during mixing and to check other songs of the same genre repeatedly. And finally, try to switch back into the spatial positioning step often to help maintain the order.
Please note that the next step can help solve many problems. For example to increase the bass drum level, you may actually want to add some high frequency equalizer. Read on...
Step 5 - Spectral coverage
In many cases you may find that you are not be able to create a really clean mix without this step, simply because multiple tracks are colliding in the spectral domain. In most cases you should hear the problem. Common cases are bass vs. bass drum, multiple guitars, guitar vs. vocal etc. We'll cover this by looking at some examples.
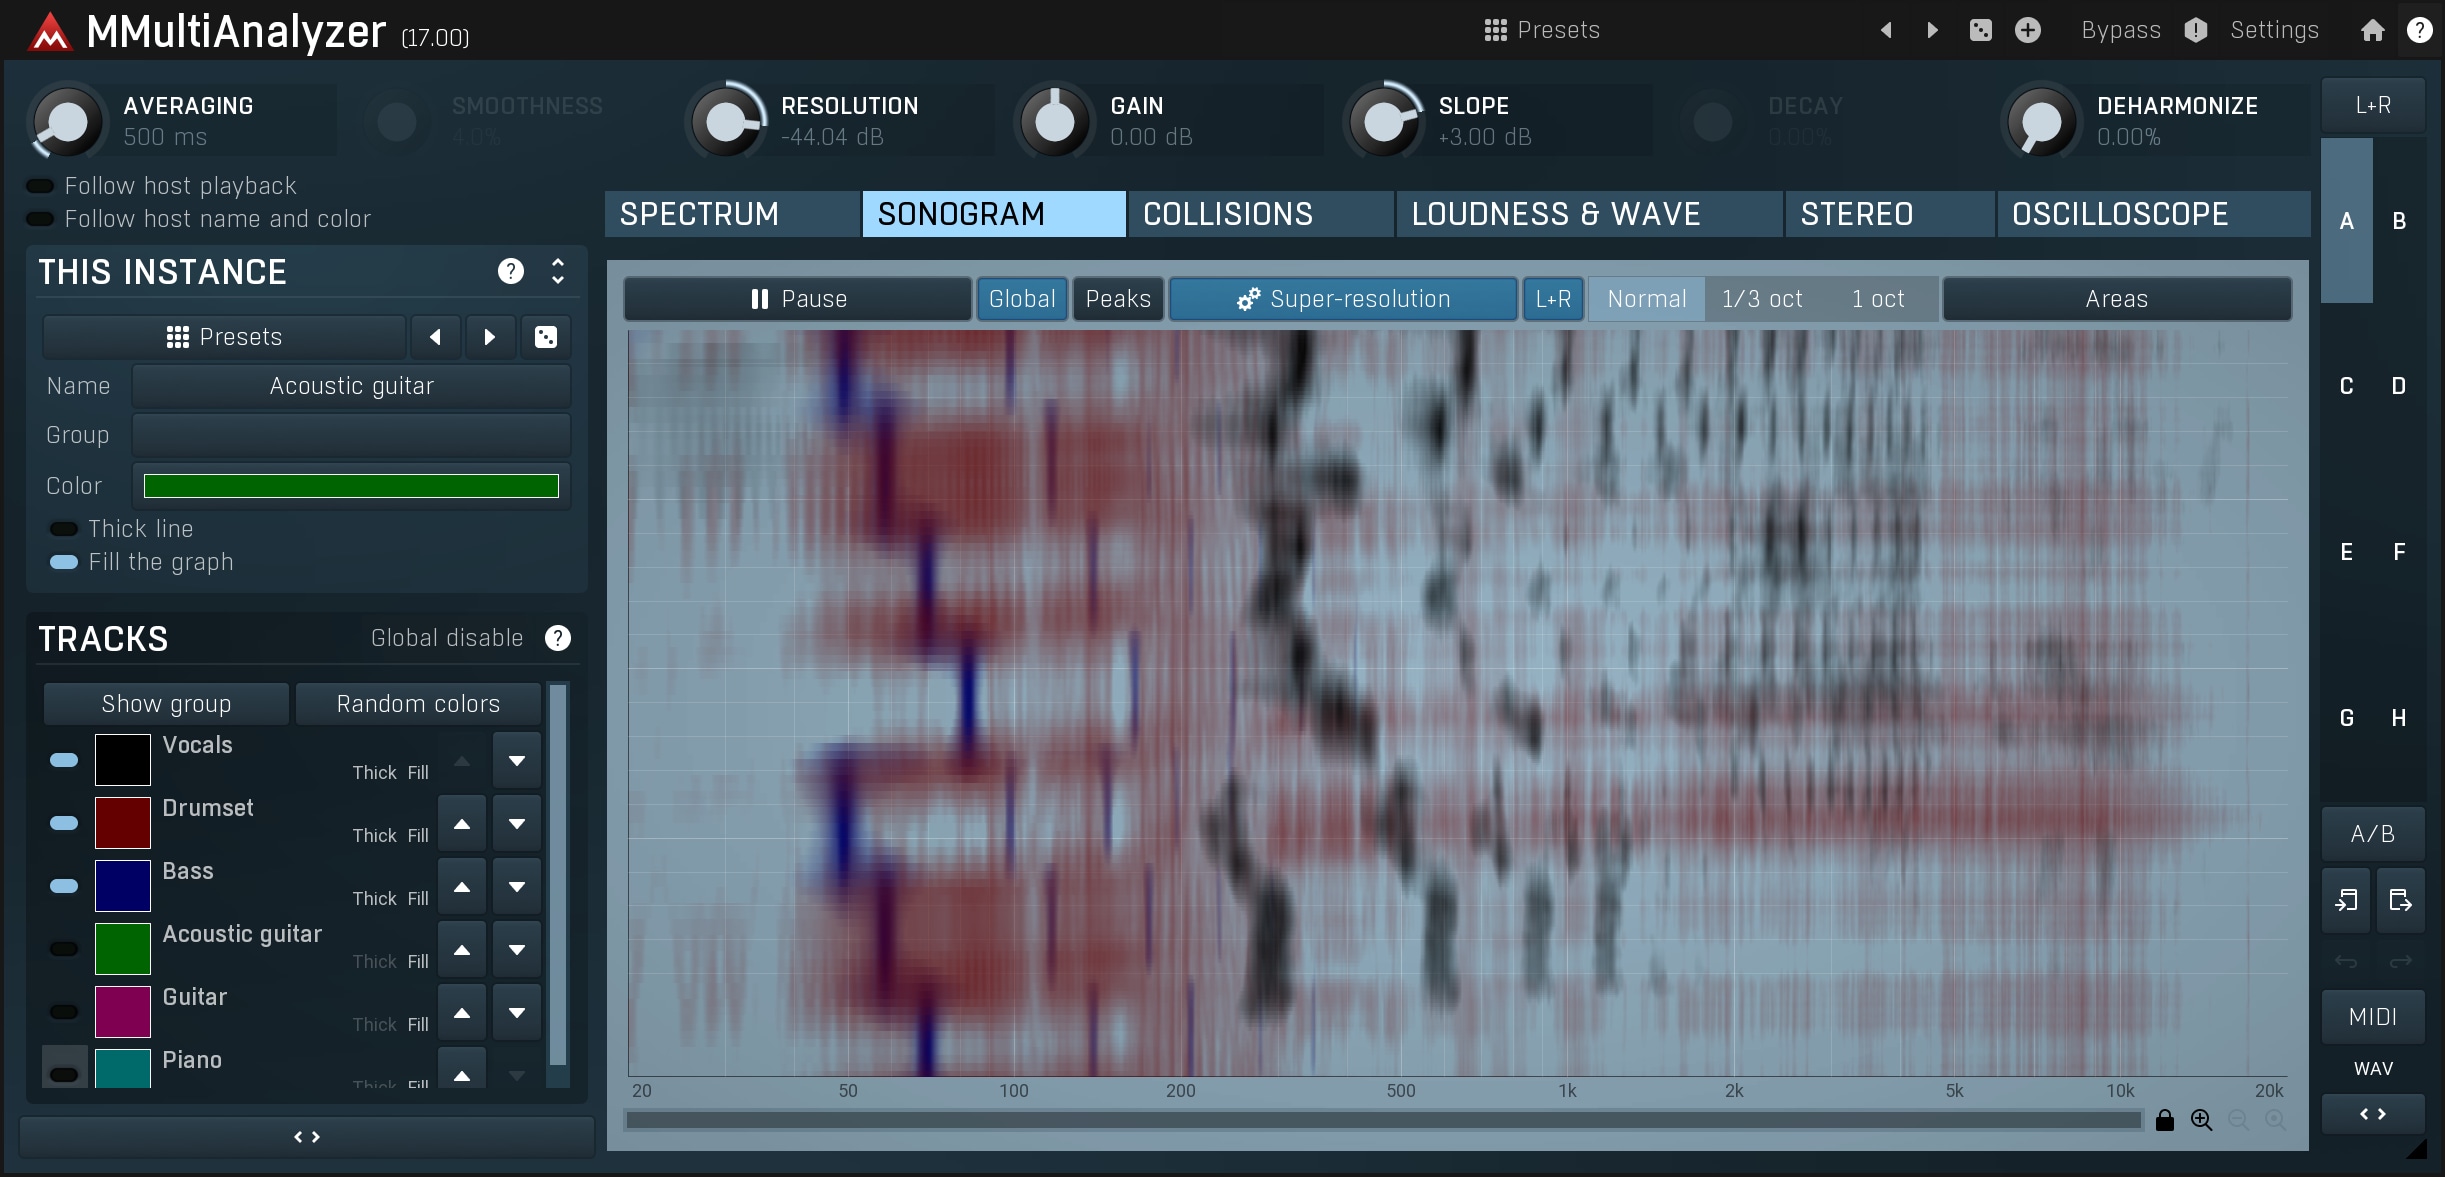
But first we should mention that there are some effective solutions to this quite complex issue. First you can easily check for potential collisions using MMultiAnalyzer. Just place it on all tracks and use the sonogram or the collision detection module. Then use an equalizer to remove frequencies from one of the colliding tracks.
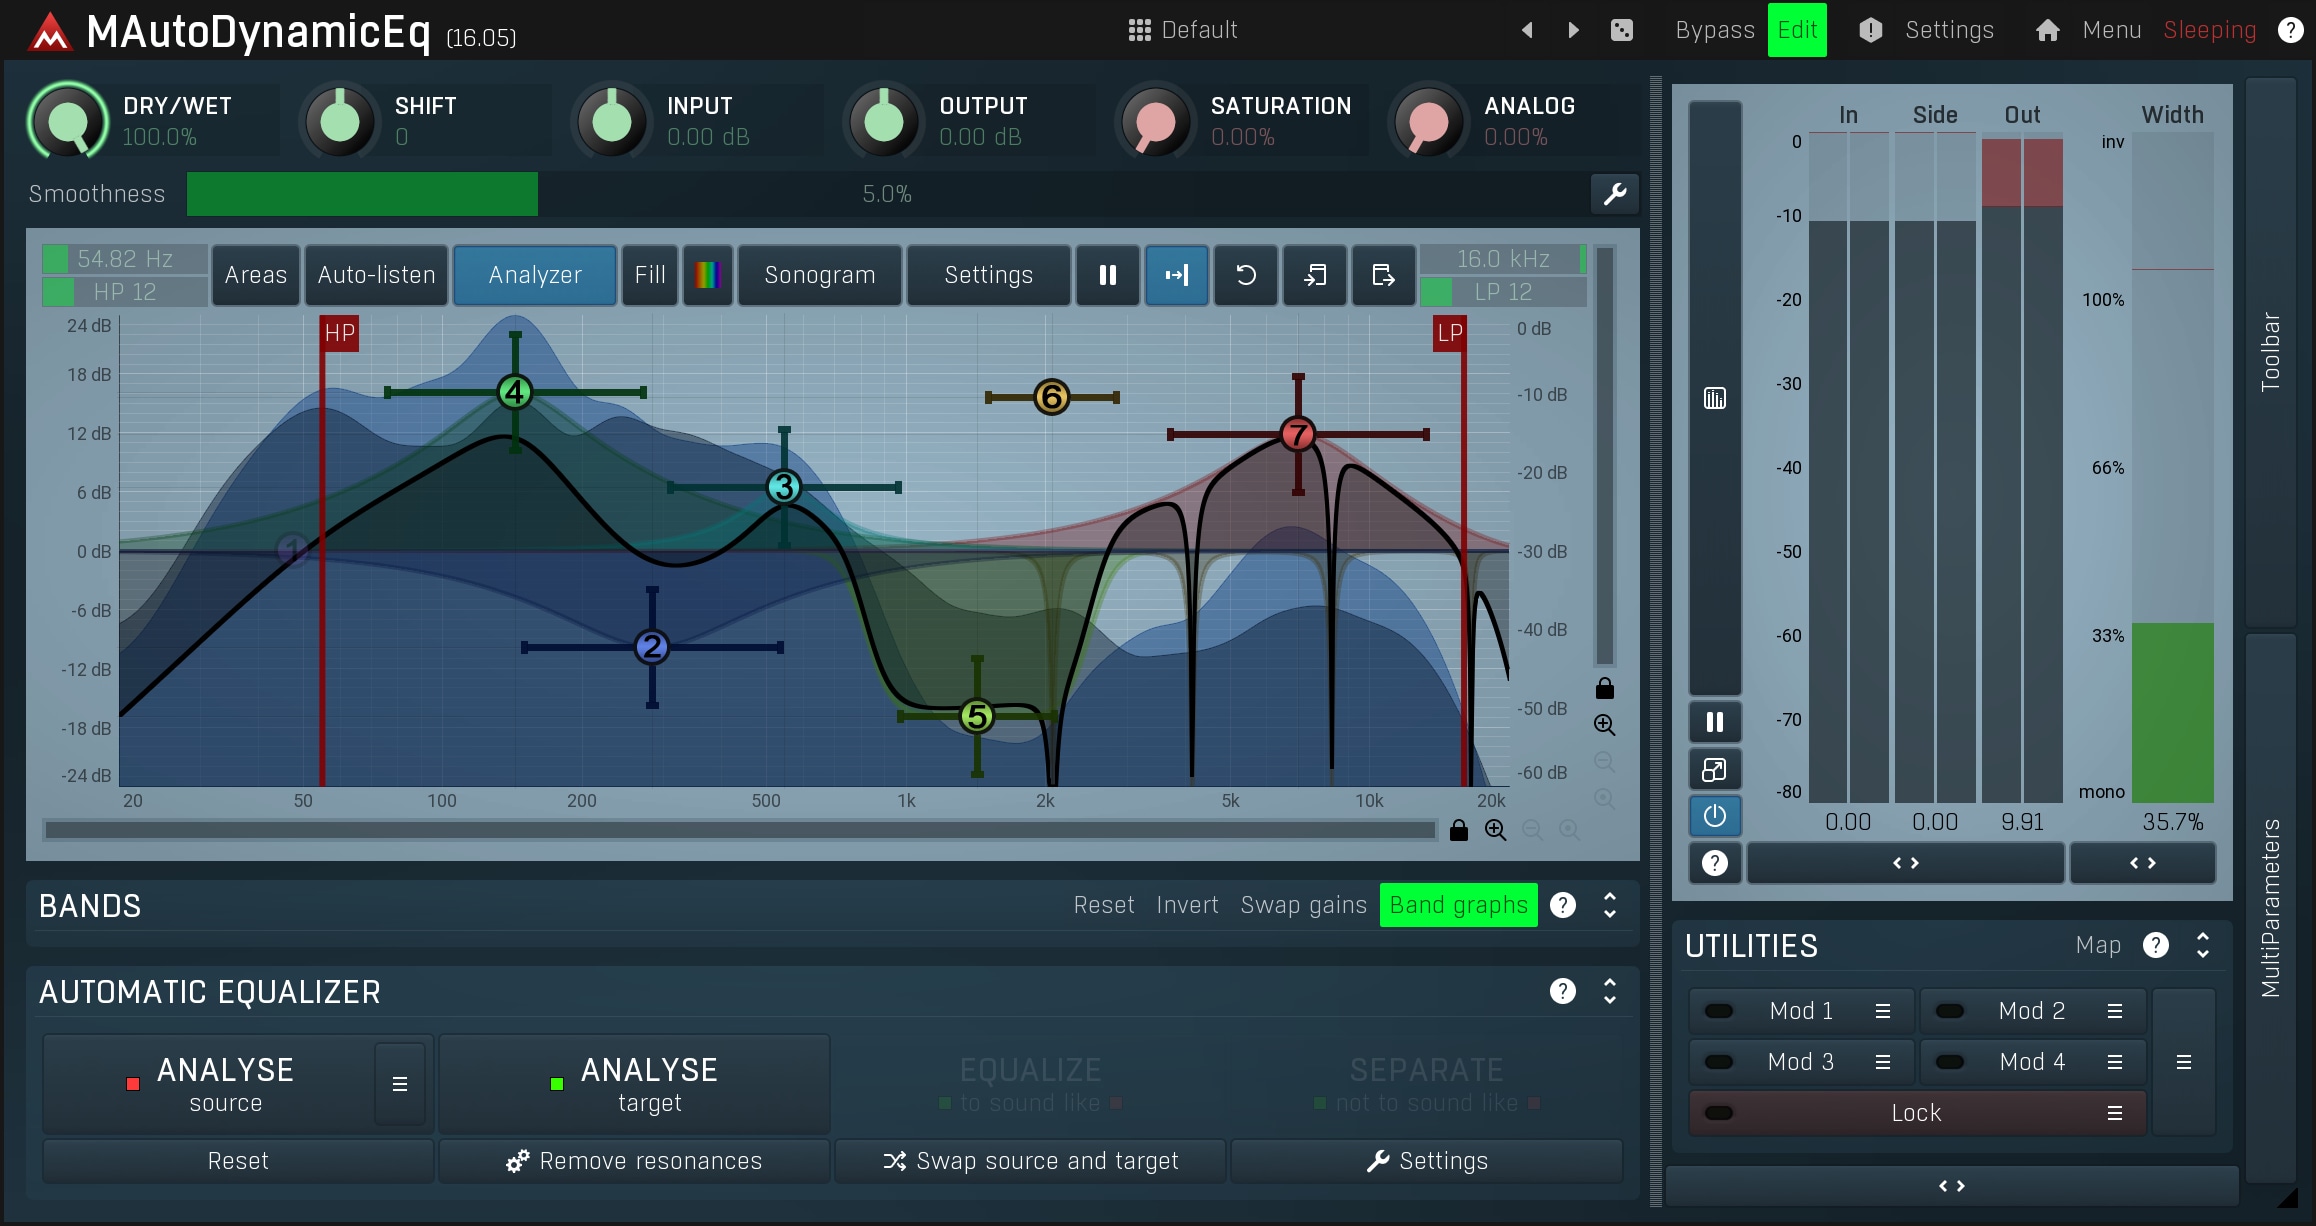
Then there are dynamic equalizers such as MAutoDynamicEq or MDynamicEq. The advantage of these equalizers is that you can use the dynamic behaviour to remove collision frequencies only if there actually is a collision (other equalizers will remove the frequencies at all time). The techniques are explained in the manuals. MAutoDynamicEq also allows you to analyze the mix (or the colliding track) easily and quickly by simply using the 'Analyze source' button when MAutoDynamicEq is on the master track. Then move it to the problematic track and analyze that by pressing 'Analyze target'. You then just click 'Separate' which sets the equalizer to remove colliding frequencies and you can control the amount of equalization applied using the 'dry/wet' control. The equalizer starts to remove colliding frequencies, and in most cases it is able to find a very good solution within a few seconds, while we would normally spend lots of time trying to resolve such issues.
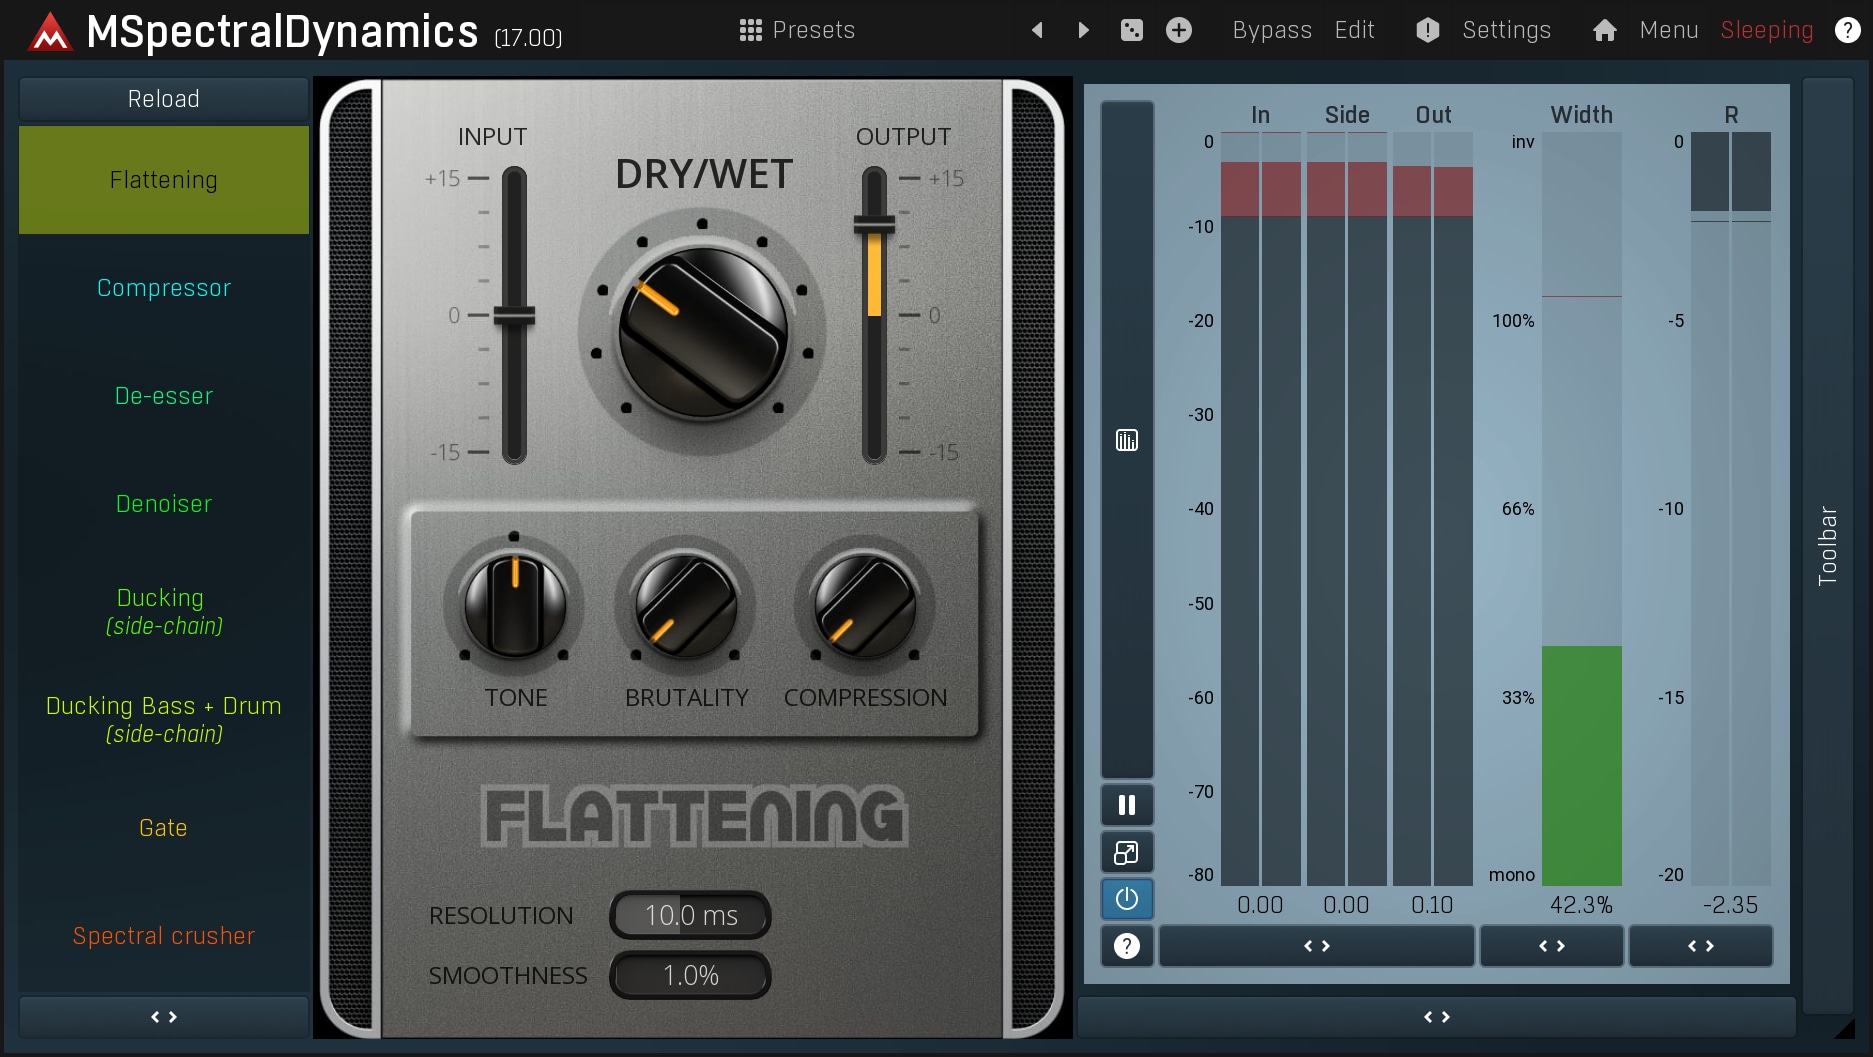
Finally you can use MSpectralDynamics which can technically do all the dirty work for you without any real setup. However it may be a little CPU hungry and introduces latency.
Now to the examples.
Bass vs. bass drum
A bass drum almost always resonates somewhere around 80-120Hz. That's low enough to provide the typical bass hit. Note that the drum usually generates lots of sub-bass frequencies as well (around 50-80Hz). The bass guitar is placed in a similar location, usually between 80-300Hz. So what happens at 80-120Hz?
Firstly, the song arrangement may be good enough, so that this collision actually doesn't matter. The bass drum may be duplicating the bass guitar rhythm, and also supporting it. In most cases however, it's not that simple. The idea is that the bass drum needs the very low frequencies that make the low 'pulse' and the high frequencies to give it some punch (It is very hard to create a bass sound with a very short attack, because the brain has a resolution of about 10ms, which is 100Hz, so we could theoretically distinguish each single sine wave in this spectrum! So could you create a 100Hz sine with an attack of 1ms?). The bass guitar on the other hand should not sound too low, as it would only make a big dull mess on sub-woofers (there are exceptions, such as drum'n'bass, though).
There is also another brain phenomenon that we haven't discussed yet. As we know, each instrument generates harmonics (multiples of the fundamental frequency, i.e. the tone). Now when you remove the fundamental frequency, the brain may still be able to 'feel' it just by analyzing the harmonics. So when our bass drum needs 100Hz, and the bass guitar sounds at 100Hz as well, you may radically remove 100Hz from the bass guitar, because the brain should still 'recover' it from the other harmonic parts of the bass guitar track. We can use a high-pass or low-shelf filter on the bass guitar track and slide it somewhere, so that both instruments are clear enough. You may also use a peak filter to diminish frequencies above say 100Hz from the bass drum track, as they are usually not needed.
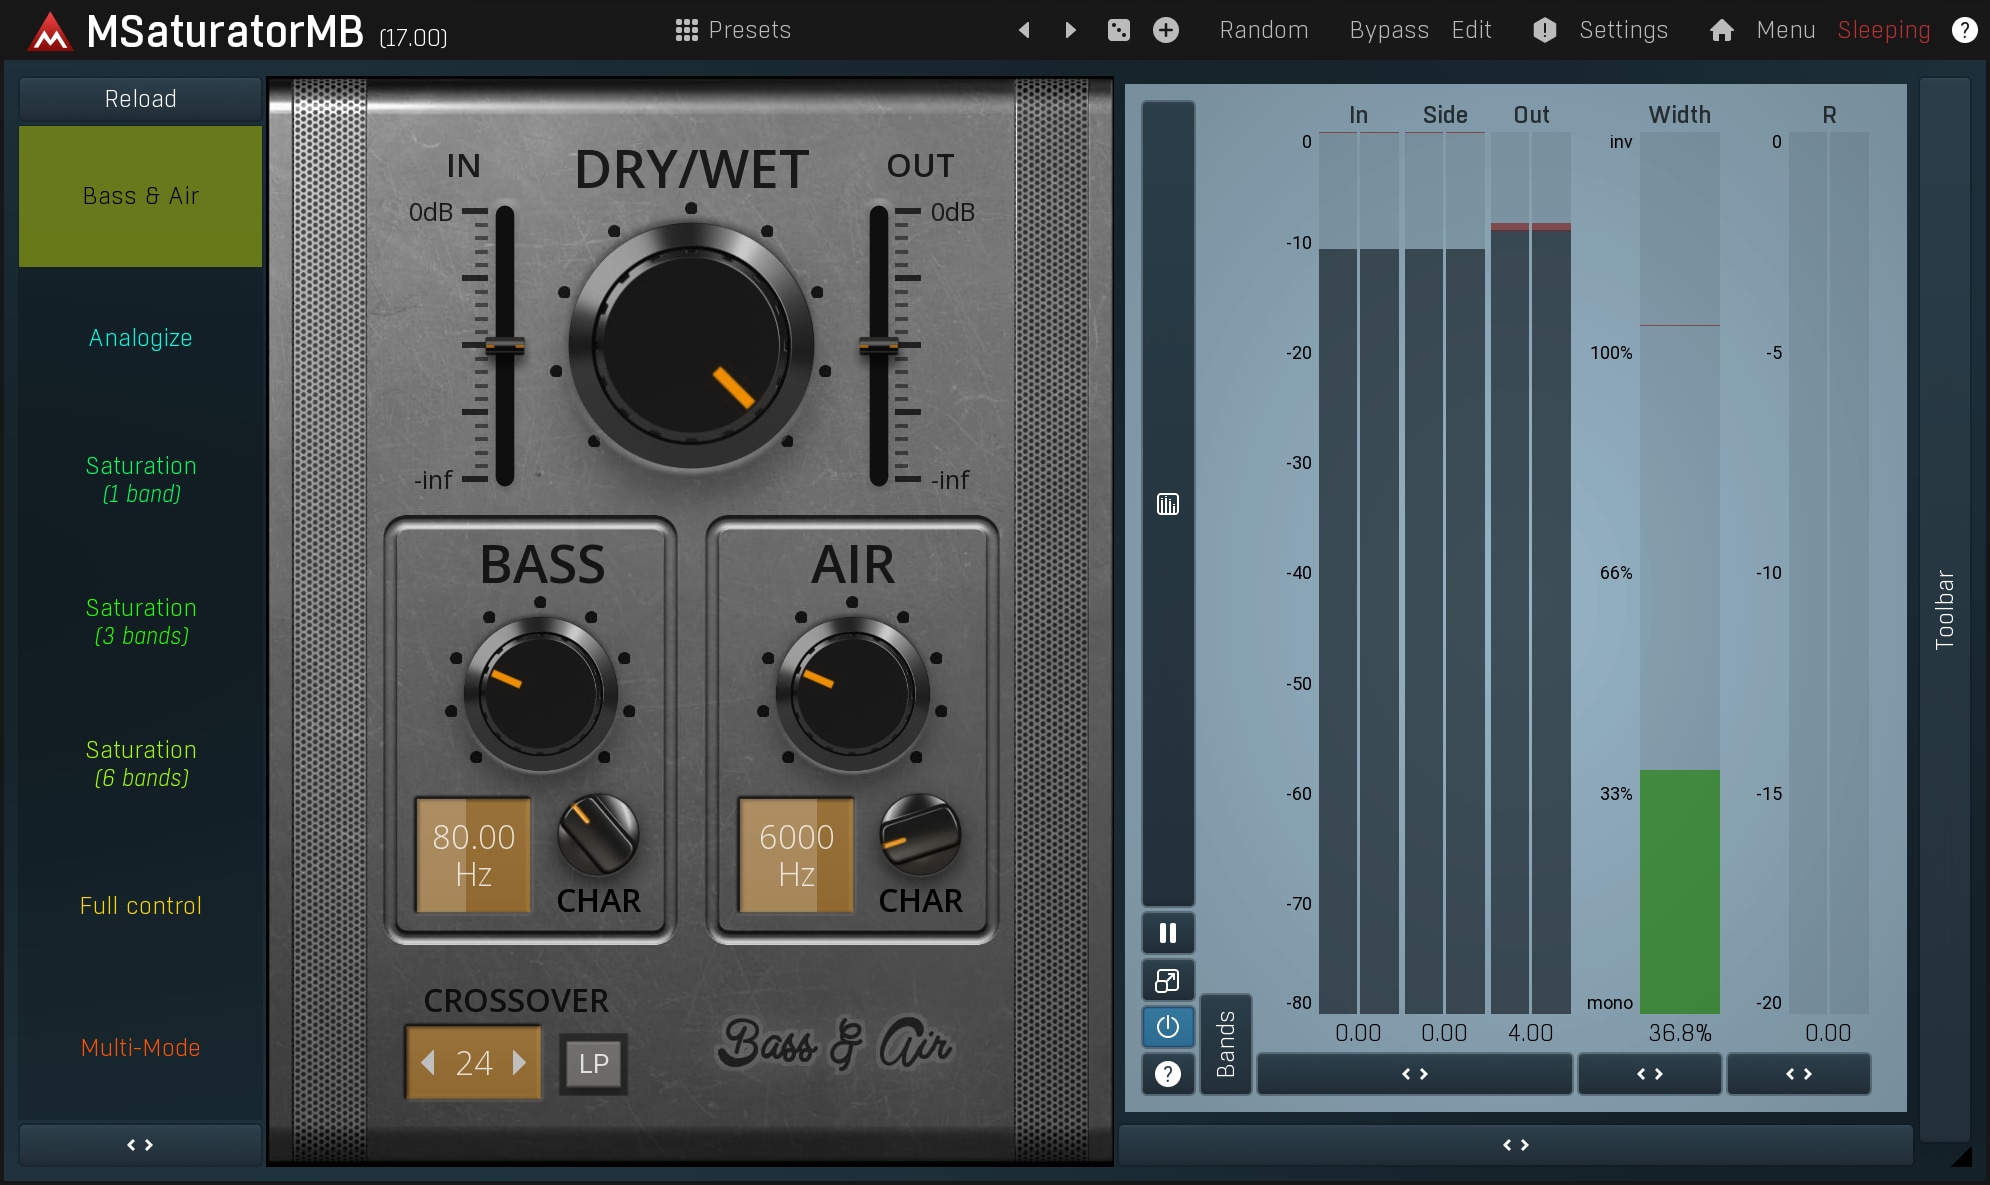
What if the bass guitar doesn't have enough harmonics? You can create some! Just use a tube/saturator such as MSaturatorMB. These devices take the audio signal and distort it, so that it creates additional harmonics for, in our case, a bass guitar. After a saturator, you could try using the equalizer with a high-pass filter again. If it still doesn't help, you will have to sacrifice something from the bass drum.
It's all about compromise. If the 2 tracks collide, you will have to take something out, whether you like it or not. Note that each single track may then sound thin or empty, but in the mix it will fit well, and that is what's important!
Multiple guitars
Guitarists are well known for being exhibitionists! They often make such sonic chaos just to show they can play, which unfortunately means one thing - if multiple guitars collide, then the problem is often with the guitarist.
For example, you may have two rhythm guitars - if the arrangement is good, then both guitars can either play together or fill the spaces between each other. If half of the notes are together and half are not, then it often sounds cluttered. The guitars themselves may sound good and full, but it may be almost impossible to add anything. You can try panning them a little in opposite directions, but although this may give a little more space it will not remove the rhythmical jumble.
In the case of distorted guitars, used in some harder music, these are typically similar in rhythm so the only problem is that they occupy a similar spectrum, which then gets too crowded. Usually one of the guitars is playing higher notes and the other lower ones, so the solution is as before - remove lower frequencies from the high pitched guitar and remove higher frequencies from the low pitched guitar. Using low/high-pass filters may be too harsh in this case, so you may want to stick with shelf filters. The art is to find the best cut-off frequencies and Q's, so that both still sound good, while each retains a distinct tone. You should also use any of the other techniques (as described earlier) to help.
Finally you should also note that there are cases when the 'mess' is actually desirable. Such as in a very hard part of a metal song, where the low-end should "kill" the listener. And what's simpler than combining multiple guitars and even bass to achieve this?
Vocals vs. guitar
Remember our priority list? Vocals have the highest priority, which means if you have to sacrifice something, let it be the guitar. On the other hand, it's quite common to remove everything below around 200Hz from the vocal and that may help on its own.
If you suspect that the vocals and the guitar are in a similar spectrum, you can easily find out using an analyzer. To solve the problem, you may want to use a peak filter with negative gain on the guitar track and place it just at the highest peak in the vocal spectrum. That would diminish the most problematic frequencies.
If you are somewhat experienced, you could also try using a light side-chain compressor on the guitar track, by sending the vocal track into the side-chain and filtering it, so that only the problematic frequencies are measured by the compressor. The idea is to lower the volume of the guitar when problematic peaks in the vocal occur. Or better you can try a dynamic equalizer such as MAutoDynamicEq. That way you can remove only the relevant part of the guitar spectrum and only when the vocal is actually present. Or you may use a multiband compressor, not that it would be simple, but when it needs to be perfect, you should try every tool you have.
Step 6 - Get back to previous steps :)
Mixing is rarely that simple to achieve in just a few steps. So when you reach this point, it is quite likely that something is still not right. If that's the case, just check the spatial positioning, volumes etc. again. If it seems OK, wait 24 hours and check again. If it still seems OK, well, you are finished. Render it, and send it to the mastering engineer. You may want to create a few different versions, maybe one with the vocals a little higher, so that if there is a problem, the mastering engineer can solve it by themselves.
No master compression, equalization (possibly just a little) or limiting should be used! All of this is up to the mastering engineer. You may want to do some light compression & equalization during the mixing, to give you some idea of how it will sound, but you should still export it without these processors.
Render it to the highest possible quality (your project's sampling rate, usually 48 kHz or 96 kHz, 32-bit float), and if you think you don't need any mastering, then go back to the garage, where you belong! Even if a mastering engineer does almost nothing, it must still be checked.