Limiters tutorial
Limiters are the basic tools to use in the loudness war. It is essential therefore to understand just how these tools work in order to get good audio results.
When you look at a waveform of a rendered mix, you can clearly see the huge dynamic range present as indicated by the peaks and troughs etc. Now if you compare this to a professionally mastered audio track, you will find that it has a much more even level, almost always reaching the maximum 0dB. It is also probably much louder than the original mix. So how do the engineers achieve this? The answer is by the use of limiters. And you are about to find out how!
Loudness
When you move the fader in your DAW to increase the level of the master track and look at the peak meter, it of course goes up. In fact, if you increase the volume by 6dB, the peak meter will rise by 6dB as well. However, the peak meter doesn't actually show loudness. So what is going on? Imagine a waveform that is totally silent except for one peak of +12dB. Firstly there is no audio, yet the peak meter says it is +12dB. Moreover, the output is overloaded, so even this one peak gets clipped to 0dB.
The problem is that our brain doesn't interpret the waveform in the same way that it appears on the meters. Instead, it breaks the waveform down into its spectral components, individual frequencies, and then analyzes them and their relationship to one another. When you listen to a 50Hz sine wave with the same amplitude as a 1kHz sine, the 1kHz wave will seem much louder.
Scientists have produced several loudness models based on the fact that our hearing system processes each frequency in a different way. Unfortunately this is still a highly simplified approach as they fail to take into account both the individual differences in hearing ability, and, the wide variety and quality of reproduction systems & monitors available that translate and play back the sound spectrum in different ways.
Another problem arises because our hearing system is just so very flexible and adjustable. If you are in a silent cave, you can literally hear your heart beating, but if you are next to the stage at a rock concert, your ears quickly lower the resolution, to protect themselves from being damaged (at least for a short time), so you will not hear your heart anymore. This allows us to focus on what is important, and is directly linked to our primeval survival mechanisms which were much needed when we were living in the wild.
The basic way to measure loudness is called the 'root mean square' or RMS, which averages energy over a given time interval. It has several weaknesses, but the most important factor is that random peaks don't affect the loudness as much as peak meters do. When combined with a filter approximating the spectral properties of human hearing, RMS becomes a fairly reliable solution.
Actually, we don't really need loudness meters, as our ears can do the job. It is however important to be able to control loudness, and interestingly we run into several issues here.
Limited bit resolution
Samples are represented as binary numbers of some predefined size. In most cases we use 32-bit floating point numbers. These consist of 24 bits containing actual digits, and 8 bits of so-called exponent, which only multiplies the number by some exponential. So it essentially defines the resolution in a similar way to our own hearing system.
An interesting consequence is the range that these numbers can represent. Thanks to the exponent it can equate to numbers as small as approximately 10^-38, which is less than -700dB, much less than we will ever be able to hear. However the accuracy is questionable. These numbers only correspond to about 7 decimal digits, just like 24 bit numbers. Therefore it is okay to take your mix and apply -100dB gain without any loss of quality (except for some rounding errors), but it also doesn't mean that if you generate a mix at 0dB it would be of any higher quality than a mix rendered at -100dB, although it wouldn't be very convenient. As for most reproduction hardware, -100dB is almost complete silence. Because of this, most high-level audio processors use 64-bit precision internally and then convert the output back to your DAW's 32-bit floating point numbers with only the round-off error.
The real problems occur with the final results themselves. For example, samples used on CDs have only 16-bits resolution, about -90dB. In the analogue world (radio, vinyl etc.), there isn't this digital limitation, but there is still some physical limitation of dynamic depth. For vinyl it is actually much worse than -90dB. Since none of these media provide a floating point range, you as a mastering engineer have to carefully use all of the bit-space provided.
On CDs the range is from -90dB to about -0.02dB. Therefore your masters should always reach this point of -0.02dB because the highest accuracy is that closest to 0dB. So you use compressors to decrease the dynamic range, and then you increase the level so that your song reaches 0dB. However, at this stage the loudness will still be much lower than the loudness of songs on professionally mastered albums which is where limiters come in.
Clipping & distortion
Let's continue the previous scenario. You have adjusted the level so that the peak meter is reaching 0dB and found out that it is still not as loud as your professional reference recordings. You could try increasing the master level a little more. However this allows the output to clip the audio as it has become overloaded, resulting in the sound being severely distorted. Again, this is a task for a limiter.
Accidental peaks
Recorded audio almost always contains accidental peaks that do not have any significant musical value. They occur because something has gone wrong during either recording, or processing. It doesn't matter if they were caused by the drummer accidentally hitting a microphone, or electrical interference, they will be there. They are also one of the reasons why normalization (described below) is rarely used anymore.
Normalization is a process that takes the highest peak in a signal and adjusts the levels throughout the signal so that this peak will be 0dB afterwards. Unfortunately our accidental peak makes this process completely invalid. If for example, you record several vocal parts, then normalize them, if any of these peaks are present, you will rarely get a similar level, nor the correct loudness.
Conclusion
Our masters should be approximately equal in loudness to professional recordings and they should use the dynamic space available to a particular medium. This is impossible to provide just by adjustments in volume controls, so we employ limiters to do the job for us.
How does this work
The following assumes that you are familiar with compressors. If not, please read our compression tutorial first to get you started.
A limiter is basically a very fast compressor followed by a clipper or a saturator. This compressor however, has particular parameters. It has a very short attack, usually less than 1ms, a moderately short release, usually about 10ms, and an infinite ratio. There are basically two approaches to control the shape - threshold and input gain (also called drive). Although they are equal, the threshold idea is possibly easier to understand. This is the image of its processing graph:

As you can see we have a very quick compressor with an infinite ratio at 0dB. A threshold of -10dB is the same as an input gain of 10dB. The limiter increases audio signal's level, while lowering any peaks back down to 0dB.
Note that a limiter's purpose is to be fast, so that it can process short transients effectively. Remember not to increase the attack and release times too much as the processor will turn into a 'very hard compressor' causing pumping and distortion instead of increasing loudness.
Let's go through the standard parameters.
Threshold / input gain / drive
The most obvious parameter simply controls the input level. When it is called threshold, it achieves this by changing the shape of the compression curve, however the results are usually the same. Sometimes both threshold and input gain controls are available, in which case it is better to use the threshold, as using input gain with threshold at 0dB may give you a 'hard knee' compression, which usually sounds rougher. Please note that the remaining parameters can also greatly influence the output loudness as well as the overall character of the sound.
Attack time
Imagine that we have a passage of silence followed by a peak at +10dB. Of course nothing is processed during the silence, however when the peak reaches the input, the limiter still does nothing because the peak is too fast. A 1ms attack at 44.1kHz sampling rate is about 44 samples, so one +10dB sample won't make a big difference. Therefore the peak will get through and it will be detected by the clipper or the saturator that follow the compression unit.
If we decrease the attack time to 0ms, the peak will now drive the compressor above the threshold and so it will be lowered down to 0dB. Whether or not this is a better solution depends. You see, there's a catch here - the release time will be holding the compressor above the threshold even after the peak, which usually results in pumping. Also, the 0ms attack will most probably cause distortions because when a short wave is above the threshold, it will all be caught and lowered to 0dB, which results in a sharp edge. A 0dB attack makes the limiter work as a waveshaper on the leading sides of the waveform.
If we increase the attack time to 100ms, we really don't have much of a limiter anymore, because it really needs a long loud signal to even get above the threshold and before that happens, all of the signal has passed through and gone directly to the clipper. Severe distortions will be inevitable because the compressor unit will effectively be bypassed, so the limiter will become a clipper/ saturator.
Conclusion: Attack time controls how much of the incoming transients go through to the clipper/ saturator. An increase in attack time will allow more to pass through. Setting the attack too low results in a waveshaper effect which itself causes distortions.
Release time
Release time is the time the compressor is allowed to stay above the threshold. If we work on the principle that when we actually get above the threshold, the audio level is probably fairly high and it will take some time before it gets lower, why wouldn't we want to keep reducing / compressing the level?
If we make the release time very short, say 1ms, it will allow the compressor to get below the threshold very quickly. 1ms is one cycle of a 1kHz sine wave. So if you imagine a single high pitched guitar for example, then the compressor unit is able to get above the threshold and back down again during every cycle! This will essentially waveshape the signal, and probably cause some distortion. On the other hand, this can depend a lot on the particular algorithm used. It will also provide more loudness, since the output tends to stay near 0dB.
If we now increase the release time to a very large value, say 1000ms, every time the signal gets above the threshold, it stays there for a long time and, since it's reasonable to assume that there will be many such peaks driving the compressor above the threshold, it will probably stay there permanently, allowing the compressor to continuously reduce the level. This invariably lowers the distortions, but ultimately achieves nothing, because while you may have increased the input by 20dB, the compressor has lowered the output by say 18dB. Increasing the input further doesn't help either, because the compressor will detect it and the infinite compression ratio gives you the same results as before.
Conclusion: The lower the release time, the higher the loudness becomes at the cost of more distortion. By increasing the release time you have to watch for the point when the gain reduction becomes too stable allowing the compressor to match the input and output, and therefore cancelling out any changes made.
Ceiling
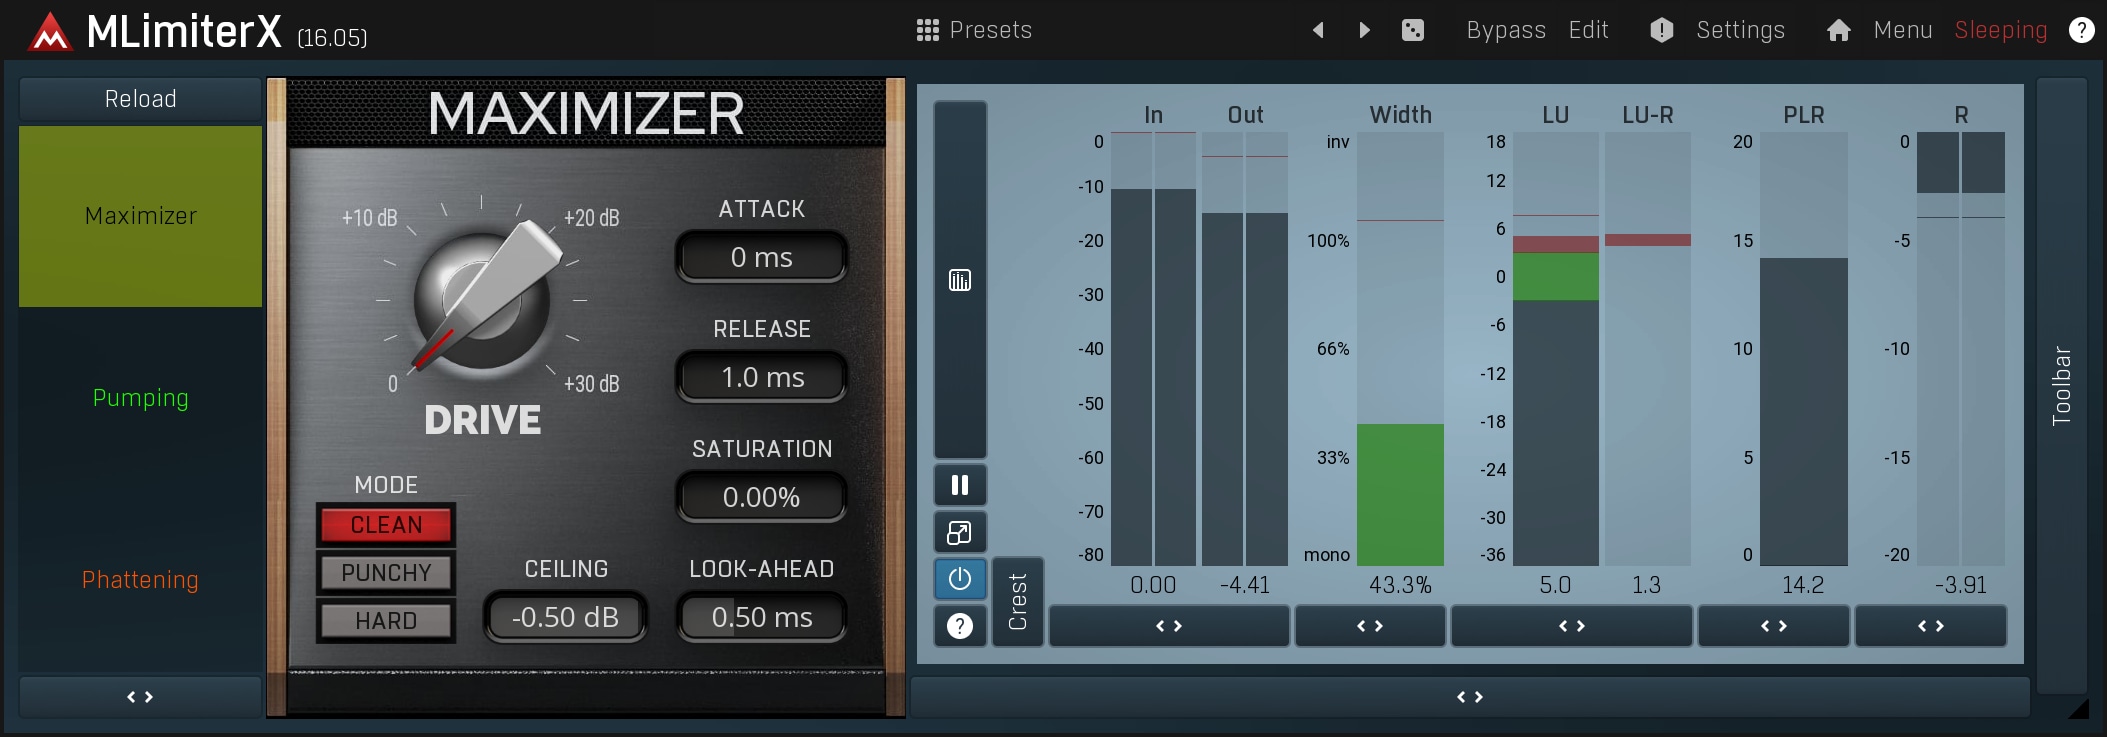
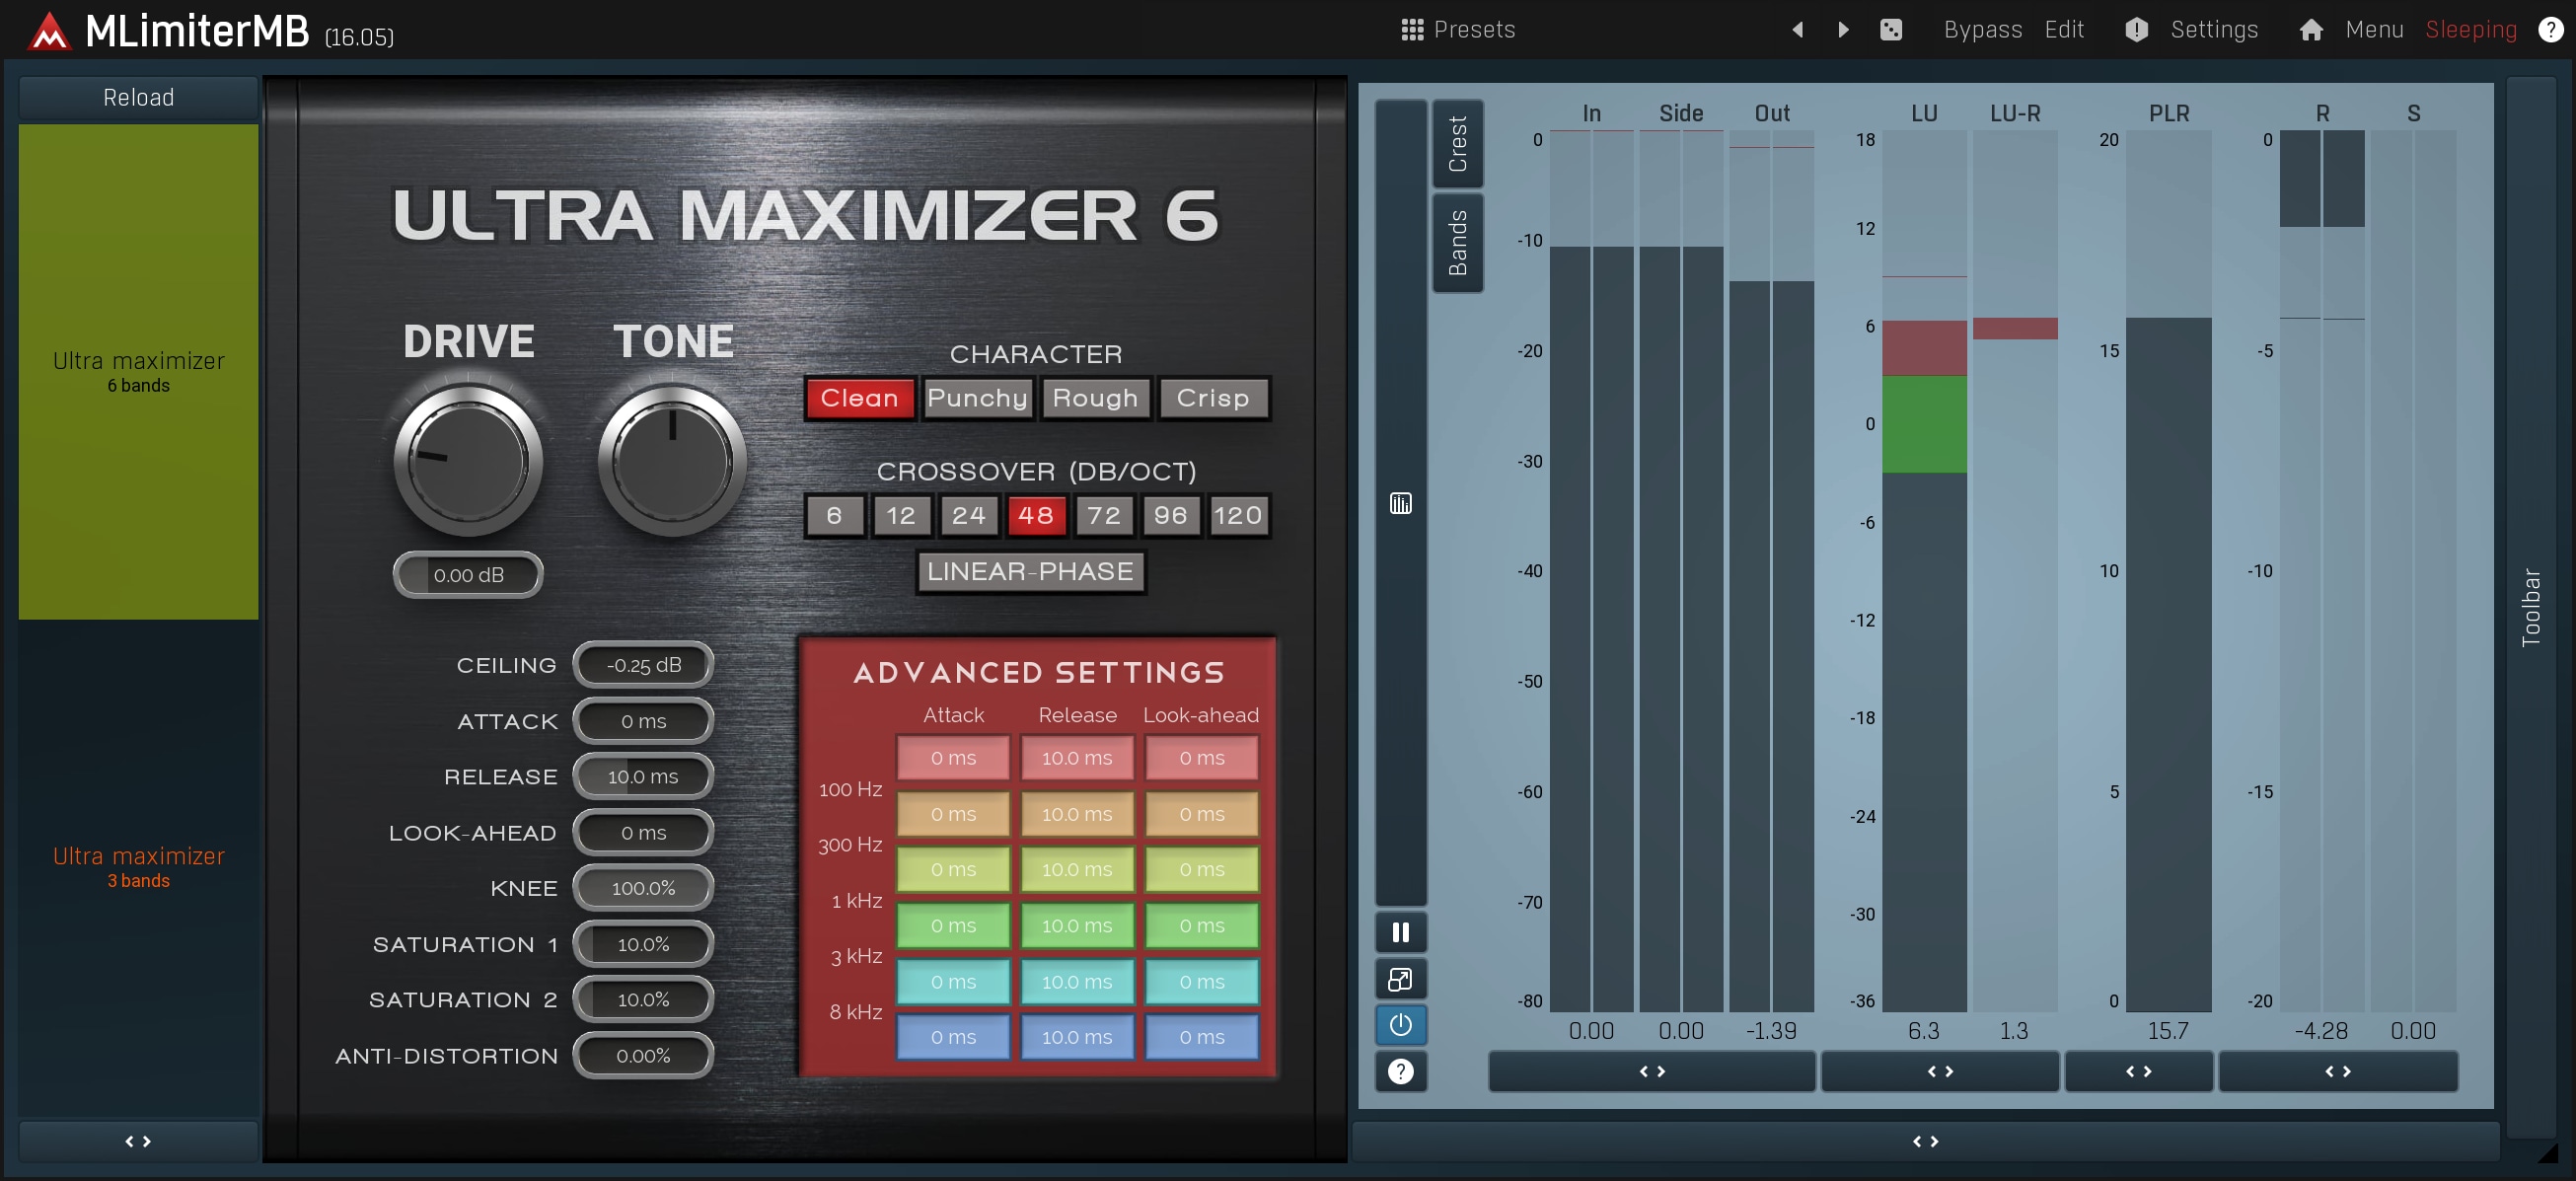
The ceiling is nothing more than the output gain, which is applied after the audio has been limited and clipped / saturated to 0dB. Therefore this parameter defines the maximum value on the output. If you are mastering a CD, you will typically want to set the ceiling to around -0.02dB or so. When it comes to mp3 and other lossy formats, you need more headroom actually, because the decompressed signal can go above your actual limit, so use say -0.5dB ceiling. There's also a little problem with so-called true-peaks, but that would be a longer debate. Anyway it's safe to know that you just need to use -0.5dB ceiling and 4x upsampling is usually a good choice. It is available in all good limiters such as MLimiterX and MLimiterMB.
Conclusion
So what is the objective of a limiter? To increase the input level, ensuring that none of the output signal exceeds 0dB which is the limited dynamic range of digital and analogue media. This is achieved by first reducing the level using a very fast compressor, and then clipping / saturating everything above 0dB that still passes through the compressor. The goal should be to minimize distortion and make the output as clean as possible, although modern engineering techniques often utilize the distortions in a creative way.
A limiter should be the last item in your master track effect chain. However, although not very common, you can also use limiters on separate tracks to give them some punch. If the limiter is set to be clean, then you can just increase the overall loudness of the track, which may be useful if it is hidden in the mix. If it is dirty, it creates subtle harmonics, especially on transients, which again will tend to highlight the track.